Sunday, May 24, 2015

Gnome Garden

Aaaand here we go again with another Pinterest-inspired project!

Perhaps you are like me and envy those crafters among us who can take four or five random items, add some hot glue, glitter, ribbon, and paint and voila! Instant fabulousness.  I am not one of those. However, I have found that I can develop ideas better if I have something to inspire me, rather than try to come up with one all on my own. Thankfully for people like me, places like Pinterest exist to inspire us. This project was inspired by this post. This post has a number of cute ideas based on flower pots, and I have plans to use another one soon. I will, of course, post it when it's done.

First, here's the picture that got me going:


My mother was a professor of Gnomology* at Frankfurt University when we lived in Germany in the 1970's, and I made this with her in mind. I have a small pot of succulents in my back yard in a small planter that was never going to be their permanent home, and this post inspired me to make the change. So I headed off to Wal-Mart and purchased a large terra cotta plate and five small pots, along with one small aloe vera plant. A visit to one of my local garden centers netted a mushroom house, a pair of courting gnomes (you'll understand when you see them a bit later), and a small bag of smooth river rocks.

First, I hot glued the mushroom house to the top of one of the pots.  The back of this house has an opening, and I filled the pot with white rocks to weigh the piece down, otherwise it might topple over in a strong wind.


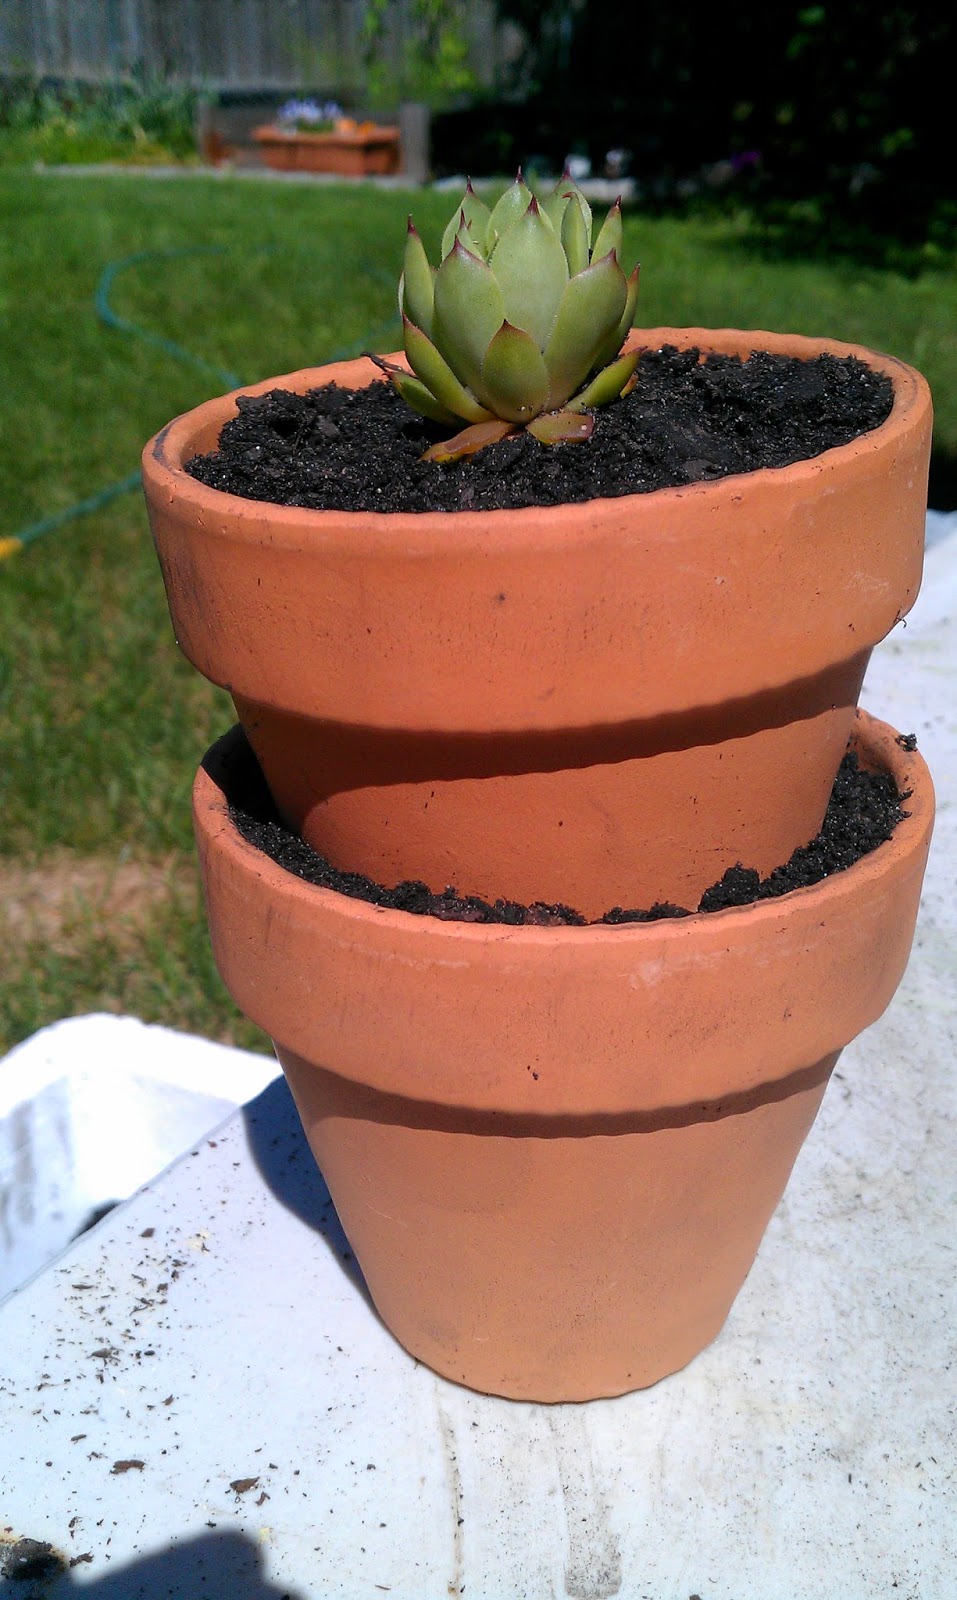
Then I nestled two pots (numbers two and three) and put one of my existing succulents inside it.


Next, the aloe vera went into pot number four.


Another succulent went into the fifth pot, which I deliberately tipped on its side.

Now, even though I say I don't have a lot of "original" creativity, every now and then, a spark will ignite a small fire. I had one succulent left but no pot to put it in. Plus I wanted to highlight my pair of gnomes somehow. The aloe vera came in a cheap plastic pot and I tried using that for the third succulent and placing it in the center, but that didn't look right. I tried turning it upside down and placing the gnomes on it, but that made them too tall. That's when inspiration said "cut down the height of the pot." So I did! I cut the pot in half, hot gluing the gnomes to the underside of the bottom half, and using the remaining ring (the upper half of the pot) as a planter in the very center for the last succulent.


Add soil to disguise the cut pot under the gnomes, add river rocks and--say it with me now--voila!


Costs:

Terra cotta saucer (12") - $6.47
Terra cotta pot (4") x 5  - $3.85
        $0.77 each
Aloe vera plant              - $2.98
Mushroom house           - $14.99
Courting gnomes           - $4.99
River rocks                    - $2.99

Total cost:                        $36.27

I already had the three succulents and the necessary soil to plant them (plus the glue gun), so those costs aren't included.


*Not really :) Although she used to know a lot about them, and for a little while actually convinced one of my sister's boyfriends that it was true.

Saturday, May 9, 2015

Tiered Painted Flower Pots

I'm back with another gardening project! Inspired by this Pinterest post, I started by choosing the location of my tiered planters. My back yard is already planned out, as are my two front beds. My porch, however, has nothing. So I chose three locations to place these tiered planters. I decided two locations would have three stacked planters, and the third would have only two stacked planters since it would be on top of a small shelf.

Because the front of my house is brick, I wanted to stay away from warm colors, such as reds, beiges, and browns, so I chose a pastel blue, purple, and green. There are a number of different formulations of spray paint out there, and I wanted something that would cover evenly, and would withstand the weather. I did make a mistake in that the purple (Gum Drop) is a gloss and the other two (Island Splash and Sea Glass) are both satin, so I kept them to a satin/gloss/satin pattern. You'll see what I mean in a bit.


I went with basic terra cotta pots in 14", 10" and 6" sizes, along with saucers in 10" and 8". I chose saucers that were wider than the pot circumference simply because that is my preference. You can choose saucers that fit more snugly if you choose.

I placed the pots on a tarp and started spraying. It's important to follow the directions on the spray can for best use. A heavy spray will cause the paint to drip, so light strokes truly are recommended---yes, I'm speaking from personal experience! It's better to take the time and make several thin coats than one drippy one and the end result is much nicer.


You can see the smallest pot in the top photo has only a bit of paint on it, and you can still see terra cotta peeking through the Island Splash on the saucer in the bottom photo. These pots took three thin layers of paint, with a fourth touch-up spray here and there. I let each coat dry (30 minutes plus) before the next coat, and then overnight after three coats, with the touch-ups occurring the next day.

In the middle of this pot, you can see the reason why thin coats are important! I was able to cover the darkness of the drips with another *thin* layer of paint, so it turned out all right. The spray paint manufacturers advocate thin coats for a reason!

If you choose, you can finish off the pots with a layer of clear sealant. The pots in my Pinterest-inspired post are decorated with white polka-dots. Had I done them, I would have used a sealant, but since I chose not to polka-dot, I opted out of the sealant. This decision may or may not come back to haunt me by the end of the summer...we'll see!


Soooo....starting with the largest pot, I added a layer of soil. If you have spare rocks or pieces of brick or even extra mulch laying around, they could be used as a filler instead of all potting soil. You will need enough soil for the plants' roots to grow into, however, so I personally chose to go all soil.


 Leaving a couple inches of clearance at the top, I placed the next smaller pot into the first, positioning it against the back edge. I removed a little soil so they would nestle nicely.


 Flowers next. I wanted each layer to have different flowers, so pale pink snapdragons here. I threw soil into the purple pot so it would be handy as I filled in the gaps in the blue pot. The flowers need room to grow, so I limited this level to only three snapdragons.

More soil in the purple pot, and dark red dianthus join the party.


The flowers I chose for the green pot filled it perfectly, so there was no need for extra soil. And here it is, on the porch! One down, two to go. (okay, okay, I can see the rust showing through the white paint on the railing. it's on my list.)


The largest and smallest pots are satin finish, and the middle is gloss, which makes the finish choice seem deliberate. Up close, you *might* notice the different finishes. But at a casual glance, you'll never see it. So it's really not an issue.


Here are the other two that I completed. One is the same as the first, with different flowers...


And the third only has two, because it is on top of an iron shelf.

And that's it!

I can't say I'm super thrilled with the results, but I do like them. They are a bit plain, so perhaps with some decoration, I'll like them more. Polka dot?

(heh-heh...sorry, but this was all I could think of every time I typed "polka dot.")

Pallet Garden Update


Just wanted to post an update to my pallet garden project. Here are the flowers one month later, growing beautifully. You can still see the painted slats, but they're quickly being overtaken by the flowers. The pot in the front left have dianthus and the one in the front right have three succulents that almost died but are making a comeback. There are a few weeds in the center of the patch of ground, but the grassy-looking ones in the very front are bulbs that should flower in the next few weeks.