This Crafty Creation was inspired by an Esty find. I don't know how the original was created, so I developed my own method. I decided to make two, one for each of my grand-nieces, Ajia and Saskia. During the creation process, I did not take as many photographs as I would have liked. In my defense, I got so into the process that I kept forgetting to pause and take pictures...an indication that I was really enjoying myself!
Start with choosing your letter. Since these are for the aforementioned grand-nieces, my letters were A and S. There are as many font choices available on the internet as there are grains of sand on the beach, but I feel a basic block letter is best. I used Lucida Calligraphy, bolded and italicized.

Printing the letter in color is not necessary, but I like to save on black ink whenever possible.
Ajia's letter will be done in purple buttons, and Saskia's in pink buttons, so I chose contrasting fabric. The pattern on the fabric, if any, should not be too bold or colorful as to take away from the design.
I pinned the paper to the fabric, then carefully stitched around the edge of the letter with a sewing machine. This picture was taken after this step. I used a wide basting stitch because I knew I would be removing the thread once I finished sewing the buttons on. I assumed the holes would make tearing away the paper easy. This wasn't quite the case. If, though, I were to make another, I would first do the basting stitch with thread, then go over the same path with a standard stitch without thread. This would create more perforations, thus making the paper easier to tear.

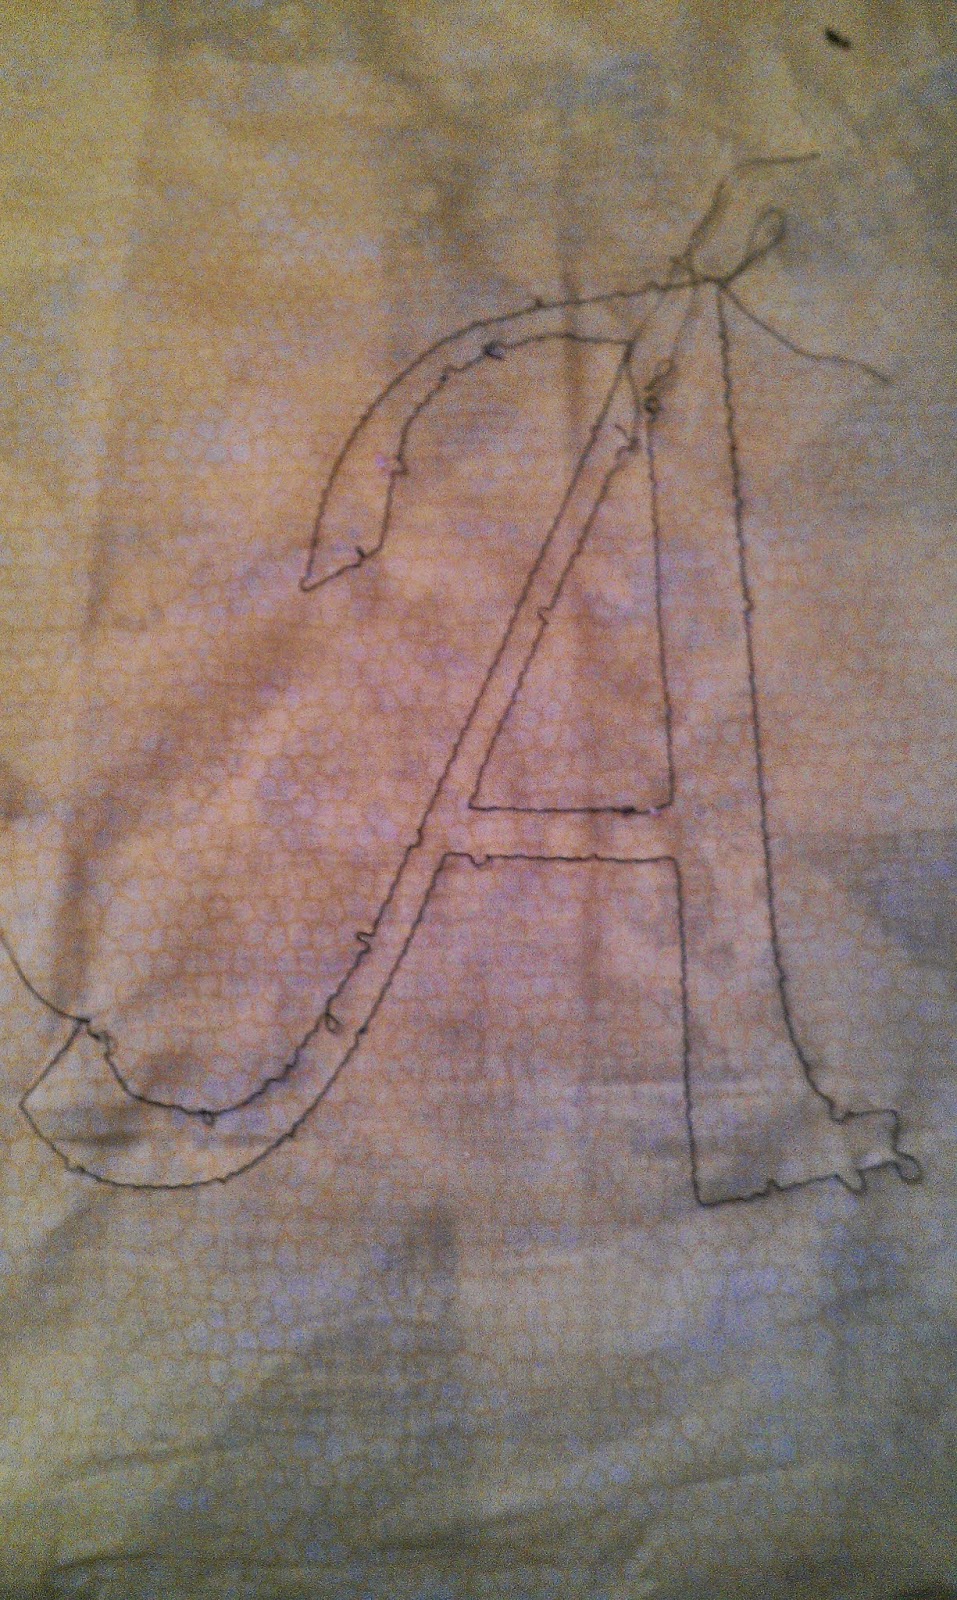
Here's the Letter A, after tearing away the paper. As you can see, the threads loosened in places, proving that a second stitching without thread should make the paper easier to remove. These loose threads, however, did not present any problems while I was working.
I then mounted the fabric into a frame. Using a frame keeps the fabric taut and frees up both hands to position and sew on buttons. If you choose to use a hoop, make sure it's large enough for the entire letter to be within the boundaries of the hoop. You'll run into troubles if you try to clamp a hoop on top of a button!
Here's the fabric in frame.
I had to fold the edges under as the fabric was wider than the frame. Any creases created by this folding will be ironed out later. This frame was just tall enough for the letter, with the buttons rolling over the dowels just a little, but not enough to create a problem.
 I then started sorting buttons. I found these little bottles of buttons at Wal-Mart.I bought two in each color to get as many unique buttons as possible. I poured them out and sorted them by small, medium, large, and unique.
The little group of buttons above the small ones I decided were unusable because the holes did not go through the center.
Finally, using a like-colored thread, I got started!
I then started sorting buttons. I found these little bottles of buttons at Wal-Mart.I bought two in each color to get as many unique buttons as possible. I poured them out and sorted them by small, medium, large, and unique.
The little group of buttons above the small ones I decided were unusable because the holes did not go through the center.
Finally, using a like-colored thread, I got started!
Staying inside
the outline, start sewing buttons onto the fabric. I mixed up both
button size, color, and type to keep the pattern as random as possible.
Here's a close-up of part of the letter A, with the black outlining thread removed. You can see the different colors and sizes of the buttons, and no two identical buttons went next to each other.
Once the buttons are sewn on, remove the black outlining thread. (Doing this from the back of the fabric is easier than the front.) I ironed around the buttons to remove any creasing from the stitching frame.
 |
| The final projects! |
Time to complete: Approximately eight to ten hours, depending on how fast you sew.
Cost of project: Button bottle - $5.77 x 4 = $23.08 (Wal-Mart pricing).
Fabric - Fat Quarters can cost anywhere from $1.00 to $5.00,
depending on the fabric and where you buy it. I used fabric I already
had, so I had, so no fabric cost.
Thread - Spools of thread can cost anywhere from $1.00 to $5.00+
depending on size of spool and brand of thread. Again, I used
thread I already had, so no additional cost for thread.
Frame - Frame costs vary depending on size and where purchased.
I bought mine at Michael's craft store. Each frame was $14.99,
but there was a buy-one-get-one sale, so my cost was only
$14.99 for both.
Total cost: $38.07 (plus tax).
The cost of the buttons made this a bit expensive, but I know the remaining buttons will be used in other projects, so that cost will be spread over those other projects. If cost is an issue, check thrift stores or yard sales for button collections. I specifically wanted colored buttons, so I had to buy the buttons. Alternately, I could have used colored fabric and plain white buttons, which may have been cheaper or easier to find at thrift stores. Or I could have used white fabric and muli-colored buttons--whatever I had on hand. Feel free to experiment with the options and above all, have fun!


 I then started sorting buttons. I found these little bottles of buttons at Wal-Mart.I bought two in each color to get as many unique buttons as possible. I poured them out and sorted them by small, medium, large, and unique.
